Your attic doesn't have to stay a dusty storage space. Learn how dormers add headroom, light, and livable square footage without the cost of moving.
An attic dormer conversion takes that sloped, cramped attic space and adds a structural extension that projects vertically from your roof. Think of it as creating a box that pops out from the roofline, giving you full-height walls and real headroom where you previously had nothing but angled ceilings and knee walls.
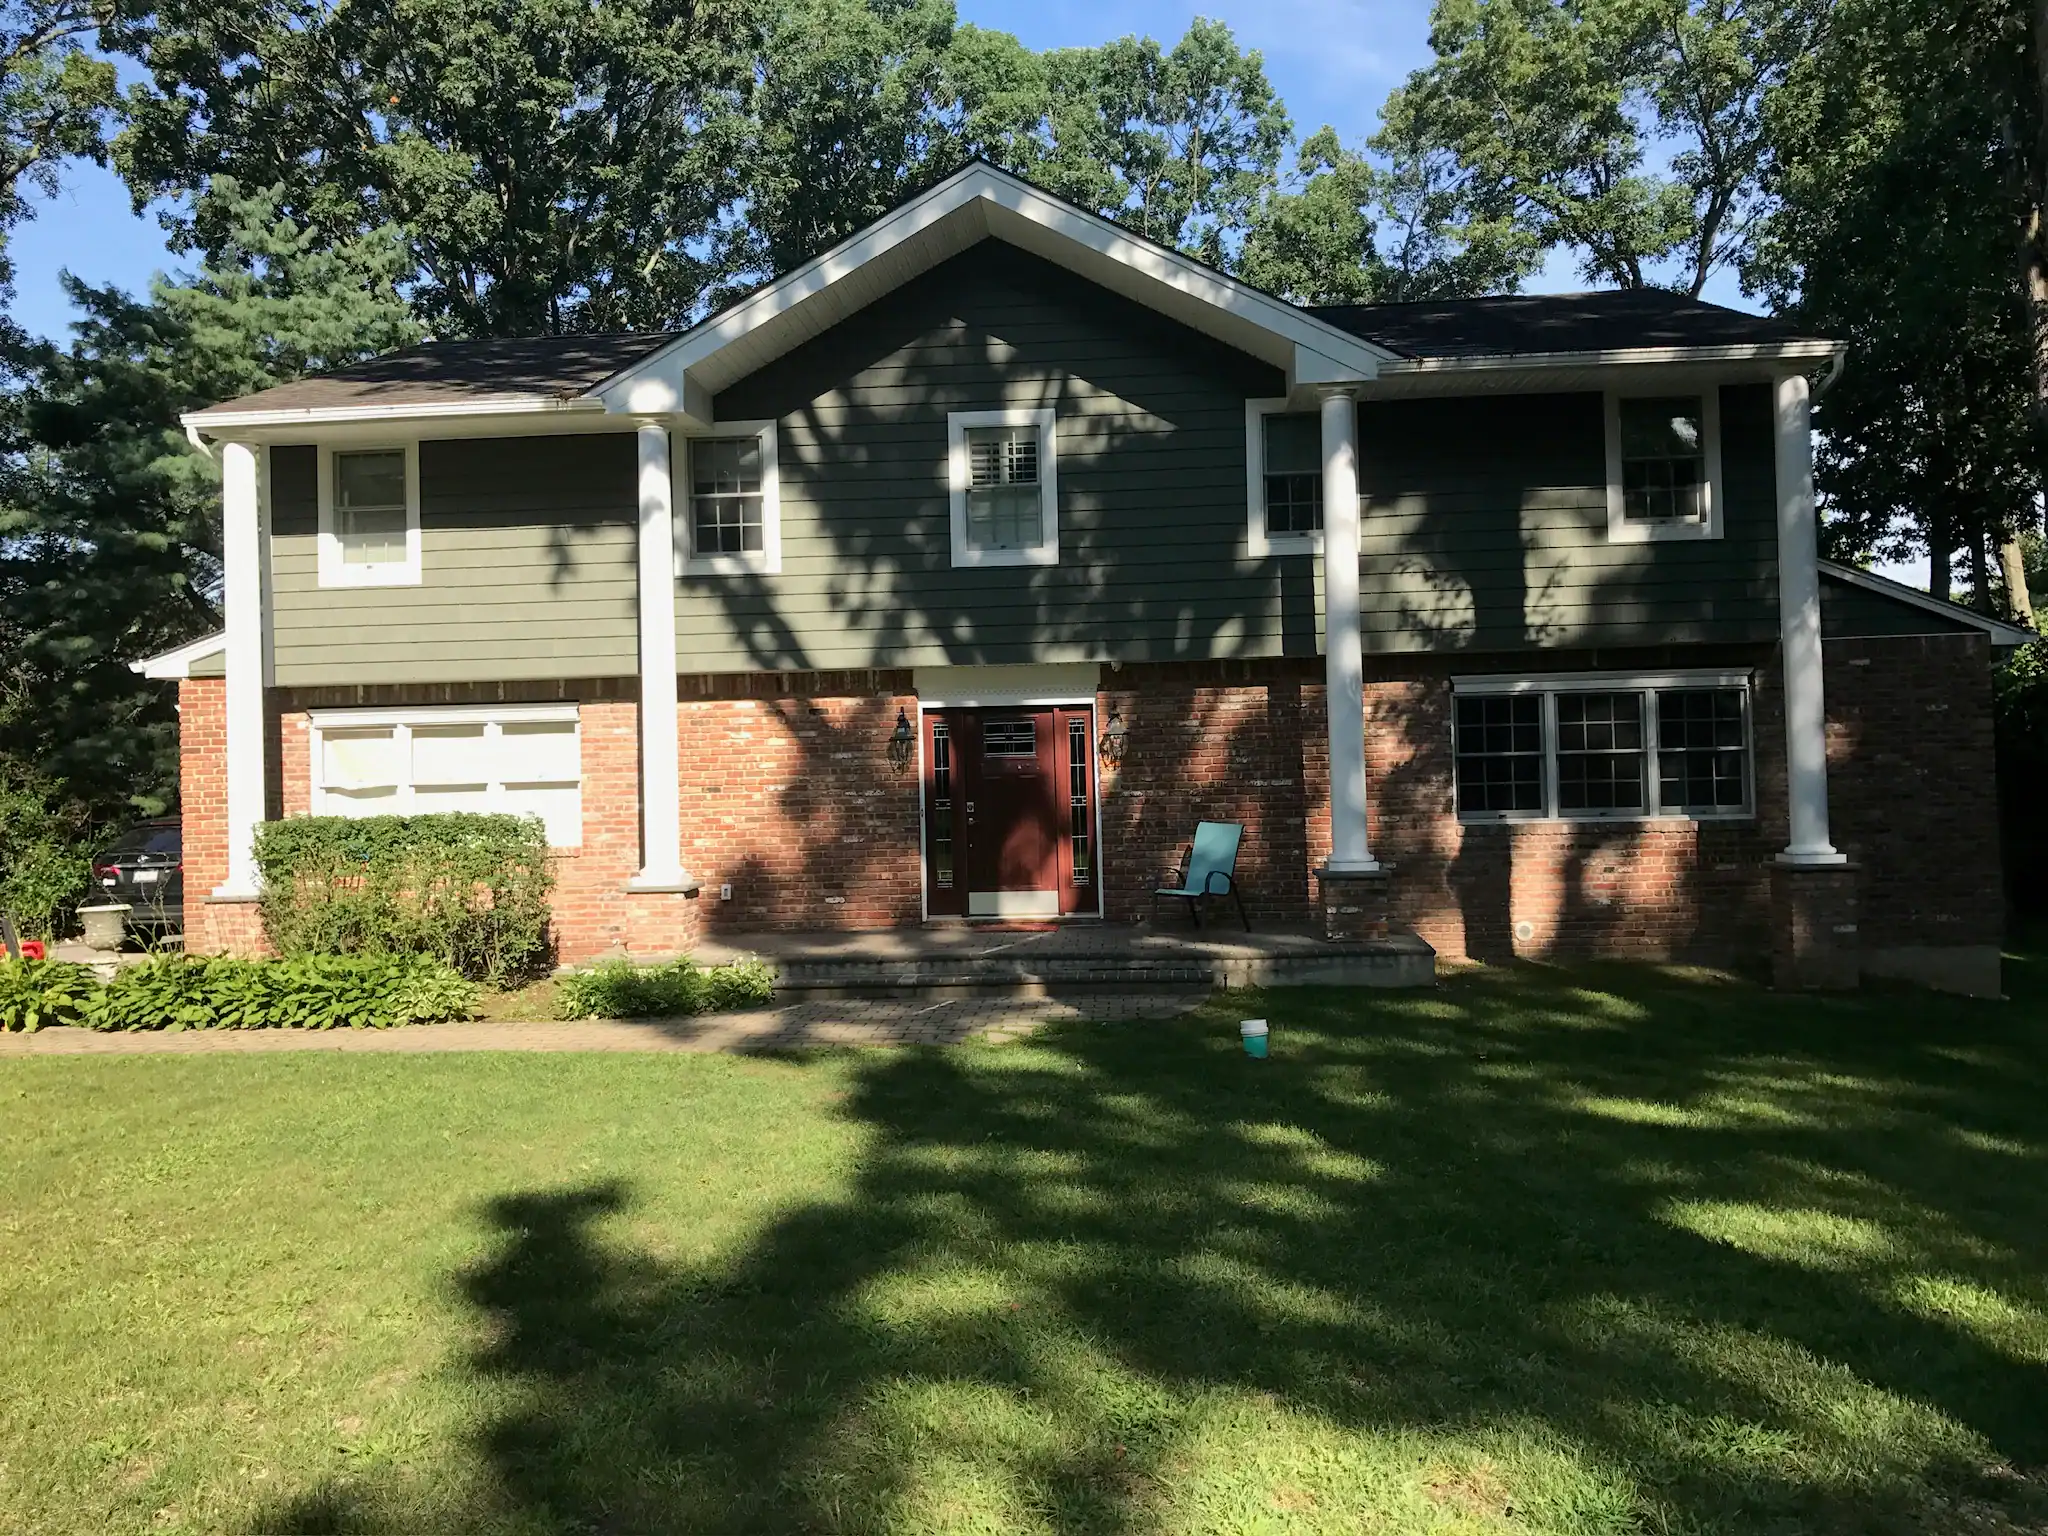
The dormer itself includes its own roof, walls, and windows. That means you’re not just cutting a hole in your existing roof—you’re building a purposeful addition that fundamentally changes how the space functions. Most Long Island homes, especially Cape Cods and Colonials common throughout Nassau County, are perfect candidates because their roof pitch and structure were practically designed with dormers in mind.
What makes this different from just finishing your attic is simple: vertical wall space. Without a dormer, you’re stuck with sloped ceilings that eat up usable floor area. With one, you gain actual walls where you can place furniture, hang art, and move around without ducking.
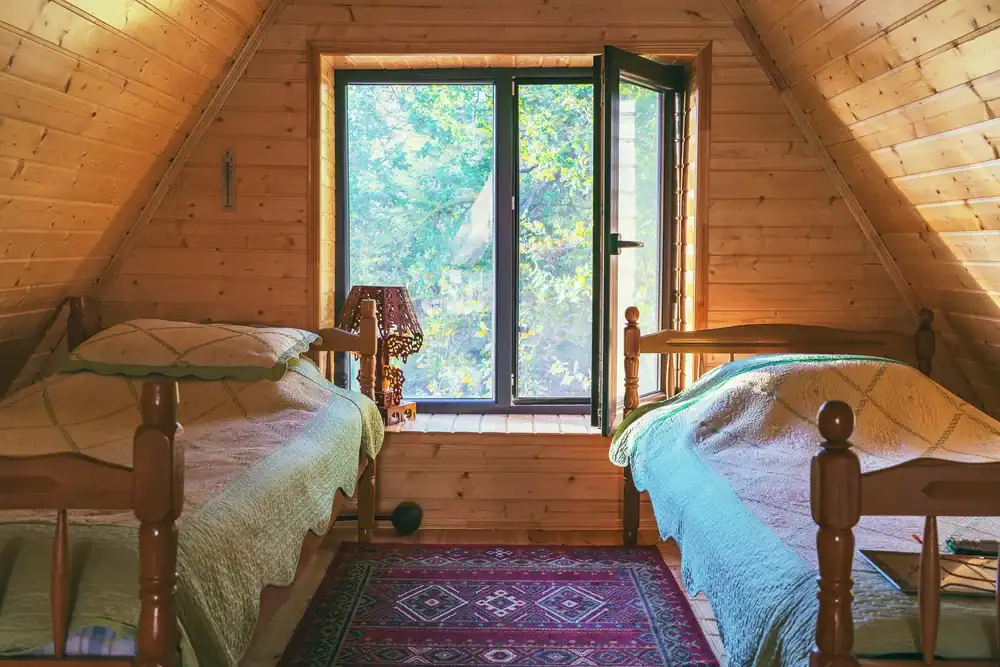
Here’s the thing about attics—they look spacious until you try to use them. The moment you account for where the ceiling slopes down, you realize there’s maybe a 10 or 12-foot strip in the center where you can actually stand upright. Everything else? Wasted.
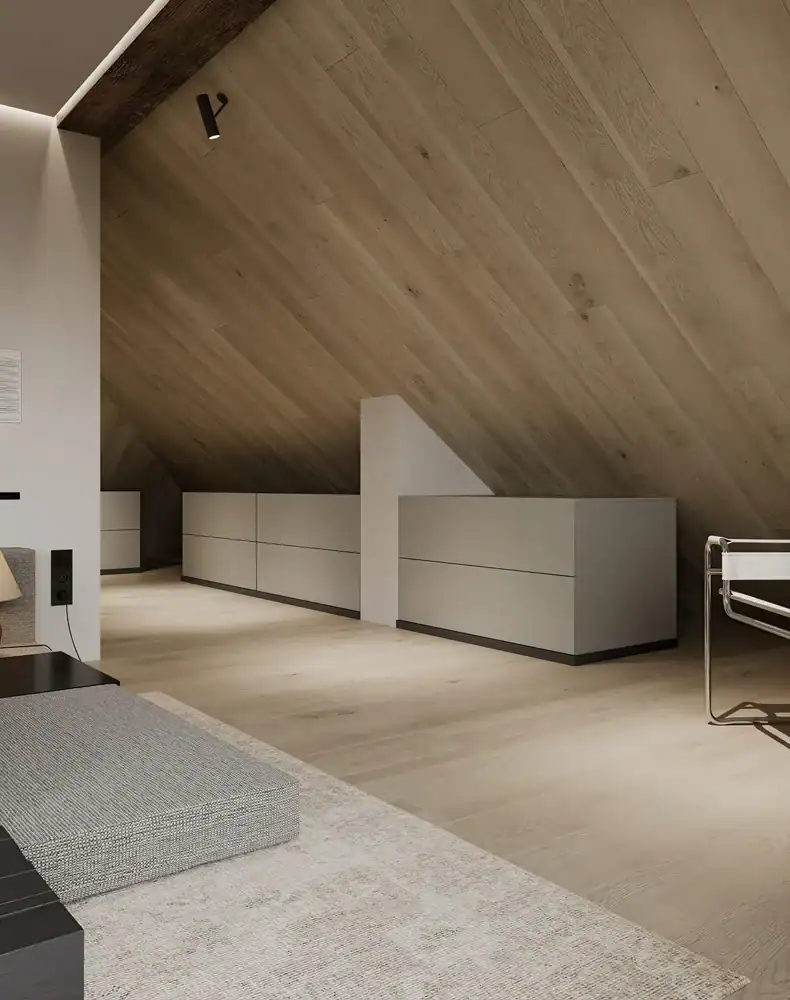
A dormer solves that by extending the roofline outward and upward, creating a section with full ceiling height. Depending on the dormer style you choose, you can add anywhere from 50 to several hundred square feet of truly usable space. Shed dormers, which run along a larger section of the roof, are especially effective because they maximize both width and height. Gable dormers, the classic triangular style, work well for smaller targeted areas like reading nooks or to frame a specific window view.
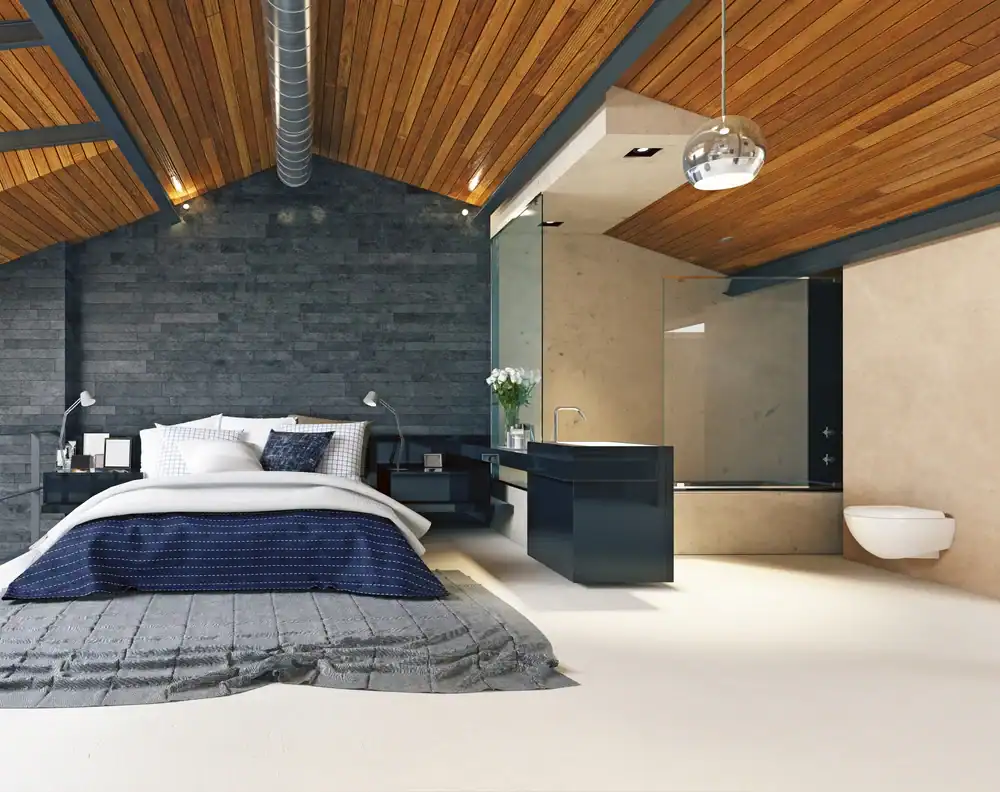
The real win is in how it changes the room’s proportions. Suddenly, you’re not trying to arrange a bed against a sloped wall or figuring out where to put a dresser without it blocking a window. You have vertical walls. You have corners that work. You can walk across the entire room without watching your head.
Headroom matters more than most people realize until they don’t have it. Building codes typically require at least seven feet of clearance for a space to be considered habitable, and dormers are often the only way to achieve that in an attic without tearing off the entire roof and rebuilding at a higher pitch. For a fraction of the cost of a full second-story addition, you’re getting the same functional benefit—rooms that feel like actual rooms, not makeshift spaces you’re trying to make work.
And because you’re building up instead of out, you’re not sacrificing yard space or dealing with foundation work. The footprint of your home stays the same. Your landscaping stays intact. You’re just making smarter use of the cubic footage you already own. That’s a big deal in Nassau County, where lot sizes are limited and zoning restrictions can make outward expansion complicated or impossible.
Not all dormers look the same, and the style you choose affects both the aesthetics of your home and the functionality of the space inside. The three most common types—gable, shed, and hip—each bring something different to the table.
Gable dormers are what most people picture when they think of a dormer. They have a peaked, triangular roof with two sloping sides that meet at a ridge. They’re classic, they fit well with traditional Colonial and Cape Cod architecture, and they’re relatively straightforward to build. Gable dormers work well when you want to add light and some extra headroom in a specific area—maybe above a future desk or seating nook—but they don’t add as much overall square footage as other options. Think of them as targeted upgrades rather than full room expansions.
Shed dormers are the workhorses of attic conversions. Instead of a peaked roof, they have a single sloping plane that angles away from the house at a shallower pitch than the main roof. Because of that design, they can run along a much larger section of the roofline, sometimes spanning the entire length of the attic. That translates to significantly more usable space—straight walls, higher ceilings, and room to actually lay out furniture without playing Tetris. If your goal is to create a full master suite or a legitimate second bedroom, a shed dormer is usually the right call.
Hip dormers are less common but show up on homes where the main roof is also hipped. They have three sloping sides that converge at a ridge, giving them a more compact, pyramid-like shape. Visually, they blend more seamlessly with certain architectural styles, especially prairie-style or shingle homes. Functionally, they fall somewhere between gable and shed dormers—more space than a gable, but not quite the wide-open feel of a shed.
The style you pick depends on what you’re trying to accomplish and what your home’s existing architecture can support. A shed dormer makes sense if you need maximum space and your home’s structure can handle the longer span. Gable dormers work when you want to preserve a more traditional roofline or you’re adding dormers to multiple sections for symmetry. Hip dormers are the right move when you need the addition to visually complement a hipped roof without looking tacked on.
One thing to keep in mind: dormer style also affects cost. Shed dormers, because they cover more area and require more framing and materials, tend to run higher. Gable dormers are generally more budget-friendly. Hip dormers sit in the middle. But the real cost driver isn’t just the dormer itself—it’s how much interior finishing work you’re planning and whether you’re adding plumbing, electrical, or HVAC to make the space fully functional.
We’ll walk you through what makes sense for your specific home, your budget, and how you plan to use the space. A good dormer design doesn’t just add space—it looks like it was always meant to be there.
Want live answers?
Connect with a Ray Coleman expert for fast, friendly support.
Adding a dormer creates livable space, but without proper insulation and climate control, that space won’t be comfortable. Attics are notoriously difficult to regulate—they’re too hot in summer, too cold in winter, and if you don’t address that during the conversion, you’ll end up with a room nobody wants to use.
The key is treating the attic as conditioned space, meaning it’s part of your home’s heated and cooled envelope rather than an unconditioned buffer zone. That requires insulating not just the attic floor, but the walls and roof planes of the dormer itself. You’re essentially creating a thermal barrier that keeps outside temperatures from dictating what happens inside.
Proper insulation also means your HVAC system isn’t working overtime to heat or cool a space that’s constantly losing energy through poorly sealed walls and ceilings. That translates to lower utility bills and a space that actually feels comfortable year-round, not just tolerable for a few months.
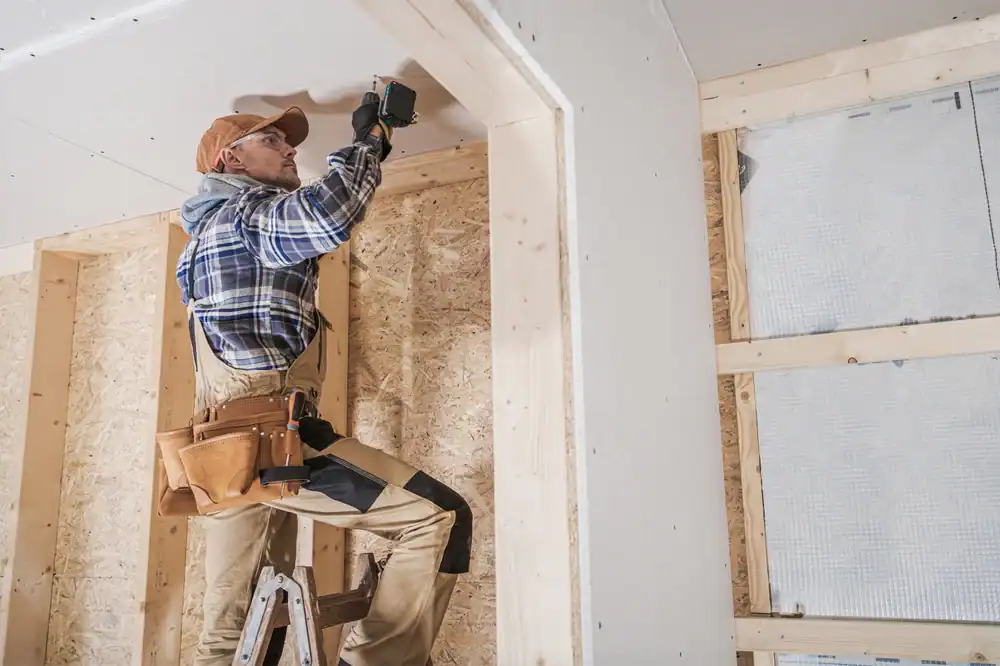
When you add a dormer, you’re introducing new exterior walls and roof surfaces that didn’t exist before. All of those need to be insulated to the same standards—or better—than the rest of your home. That means insulation between the studs of the dormer walls, between the rafters of the dormer roof, and careful attention to any knee walls that separate the conditioned space from the unconditioned attic behind them.
Knee walls are a common weak point. They’re the short vertical walls that run along the sides of a finished attic, with unused attic space directly behind them. If those walls aren’t properly insulated and air-sealed, you’re essentially leaving a door open to the outside. Cold air in winter, hot air in summer—it all comes straight through and makes the room uncomfortable.
The same goes for the roof planes. In a finished attic with a dormer, the insulation needs to go between the rafters, not just on the attic floor like in an unfinished space. That keeps the heat or cold from radiating through the roof deck and into your living area. Depending on your rafter depth, you might need a combination of batt insulation and rigid foam to hit the required R-value without sacrificing headroom. Some contractors use spray foam to fill the rafter bays completely, which also acts as an air seal and prevents drafts.
Ventilation is another piece of the puzzle. If you’re insulating the roof planes, you need to make sure there’s still airflow between the insulation and the roof deck to prevent moisture buildup. That usually means installing baffles that maintain a clear channel for air to move from the soffit vents up to the ridge vent. Skip that step, and you risk condensation, mold, and eventually, roof damage.
Getting the insulation right isn’t just about comfort—it’s about making the space functional and protecting your investment. A poorly insulated dormer conversion might look great when it’s first finished, but if it’s unbearably hot in July or freezing in January, you’re not going to use it. And if moisture starts accumulating because the ventilation wasn’t handled correctly, you’re looking at bigger problems down the road.
This is one area where working with a contractor who understands building science makes a real difference. It’s not just about stuffing insulation into the walls—it’s about creating a continuous thermal envelope, managing air movement, and ensuring the space performs the way it should in Nassau County’s climate, where you’re dealing with cold winters and humid summers.
Once your attic is insulated and sealed, the next question is how you’re going to heat and cool it. Most homes weren’t designed with attic living space in mind, which means your existing HVAC system might not have the capacity—or the ductwork—to handle the additional load.
The simplest solution, if your system can handle it, is extending your existing ductwork into the new space. That means running supply ducts to deliver conditioned air and return ducts to pull air back to the system for reconditioning. Your HVAC contractor will need to calculate the load based on the square footage you’re adding and make sure your furnace and air conditioner can keep up. If they can’t, you might be looking at upgrading the system, which adds to the overall project cost but ensures the space stays comfortable.
If extending the existing system isn’t feasible—maybe the unit is already maxed out, or the ductwork routing is too complicated—a ductless mini-split system is a solid alternative. These systems have an outdoor compressor and one or more indoor air handlers that mount on the wall or ceiling. They’re efficient, they give you zone control so you can set the attic to a different temperature than the rest of the house, and they don’t require extensive ductwork. The downside is the upfront cost, but for many attic conversions, especially in older homes where ductwork is tricky, they’re the best option.
Don’t overlook ventilation beyond just heating and cooling. Attics can get stuffy, especially in summer, and good airflow makes a noticeable difference in comfort. If your dormer includes operable windows, that helps. Some homeowners also add ceiling fans to keep air moving. The goal is to create a space that doesn’t just hit the right temperature on paper—it actually feels comfortable to be in.
Climate control is one of those things that’s easy to underestimate until you’re living with the results. A dormer conversion that’s beautifully finished but uncomfortably hot or cold is a missed opportunity. Get the insulation and HVAC right from the start, and you’ll have a space that works as well as it looks.
An attic dormer conversion isn’t just about adding square footage—it’s about creating space that actually improves how you live in your home. Whether that’s a master suite with natural light and privacy, a home office that’s separate from the daily chaos, or an extra bedroom for a growing family, dormers make it possible without the expense and disruption of moving or building a full addition.
The key is getting the details right: choosing a dormer style that fits your home’s architecture, insulating and sealing the space so it’s comfortable year-round, and making sure the design maximizes usable floor area and headroom. When those pieces come together, you end up with a room that feels like it was always part of the house, not an afterthought.
If you’re in Nassau County and you’re tired of looking at wasted attic space, it’s worth having a conversation about what’s possible. We’ve been helping Long Island homeowners turn these kinds of projects into reality for over 50 years, with the kind of hands-on service and attention to detail that makes the process smoother than you’d expect. Your attic doesn’t have to stay a storage space—it can be the room you’ve been needing all along.
Summary:
Share: