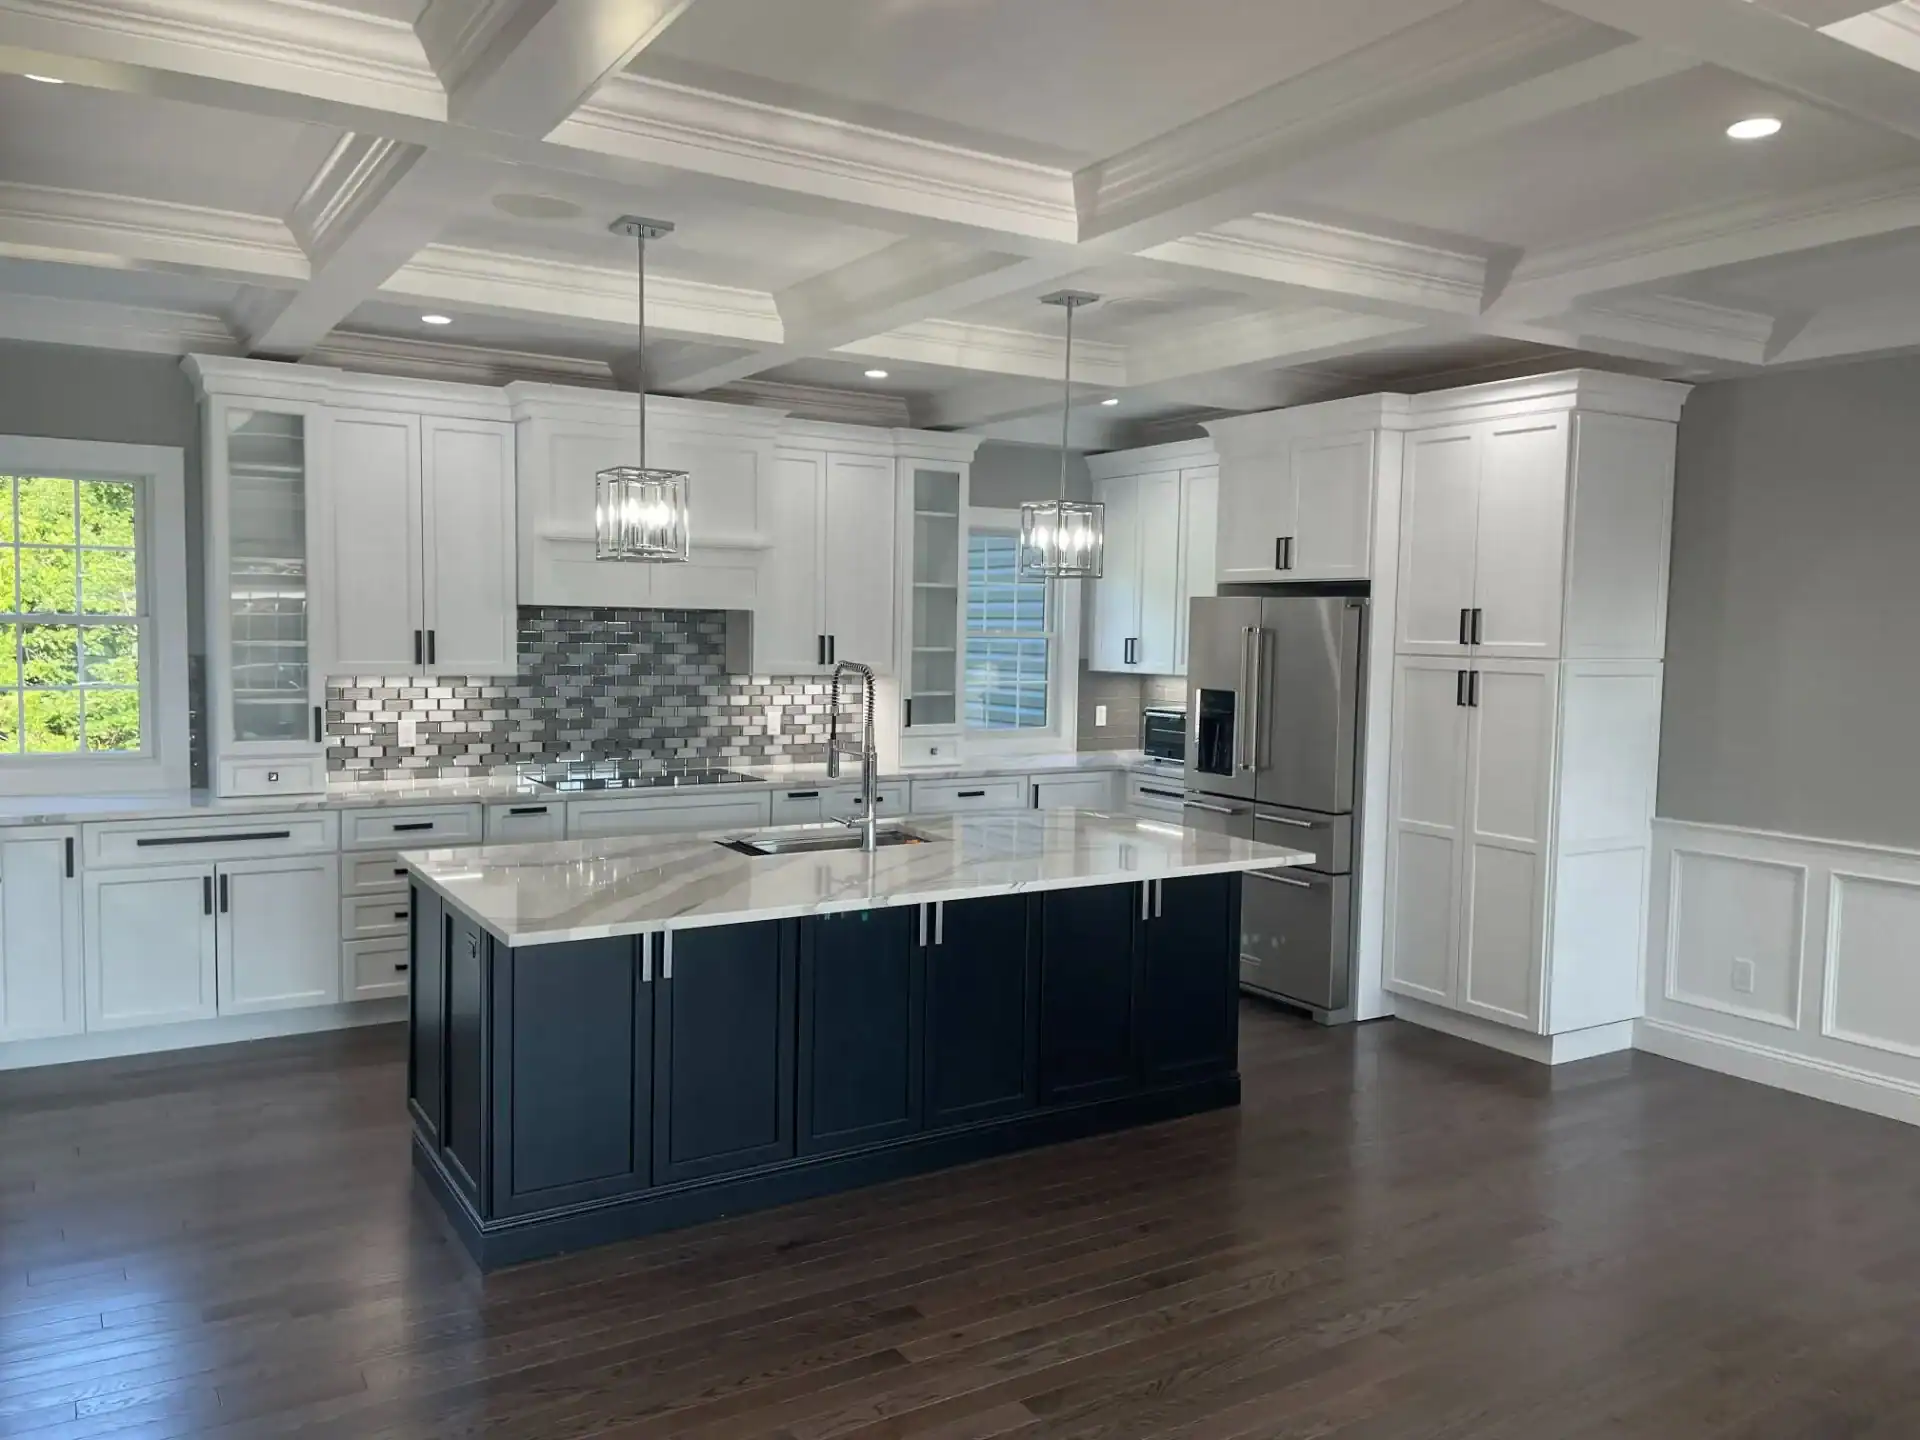
Turn Wasted Attic Space Into Real Living Space
Space You Can Actually Use, Light You've Been Missing
View All Of The Services That We Provide!

The Right Dormer for Your Home and Budget
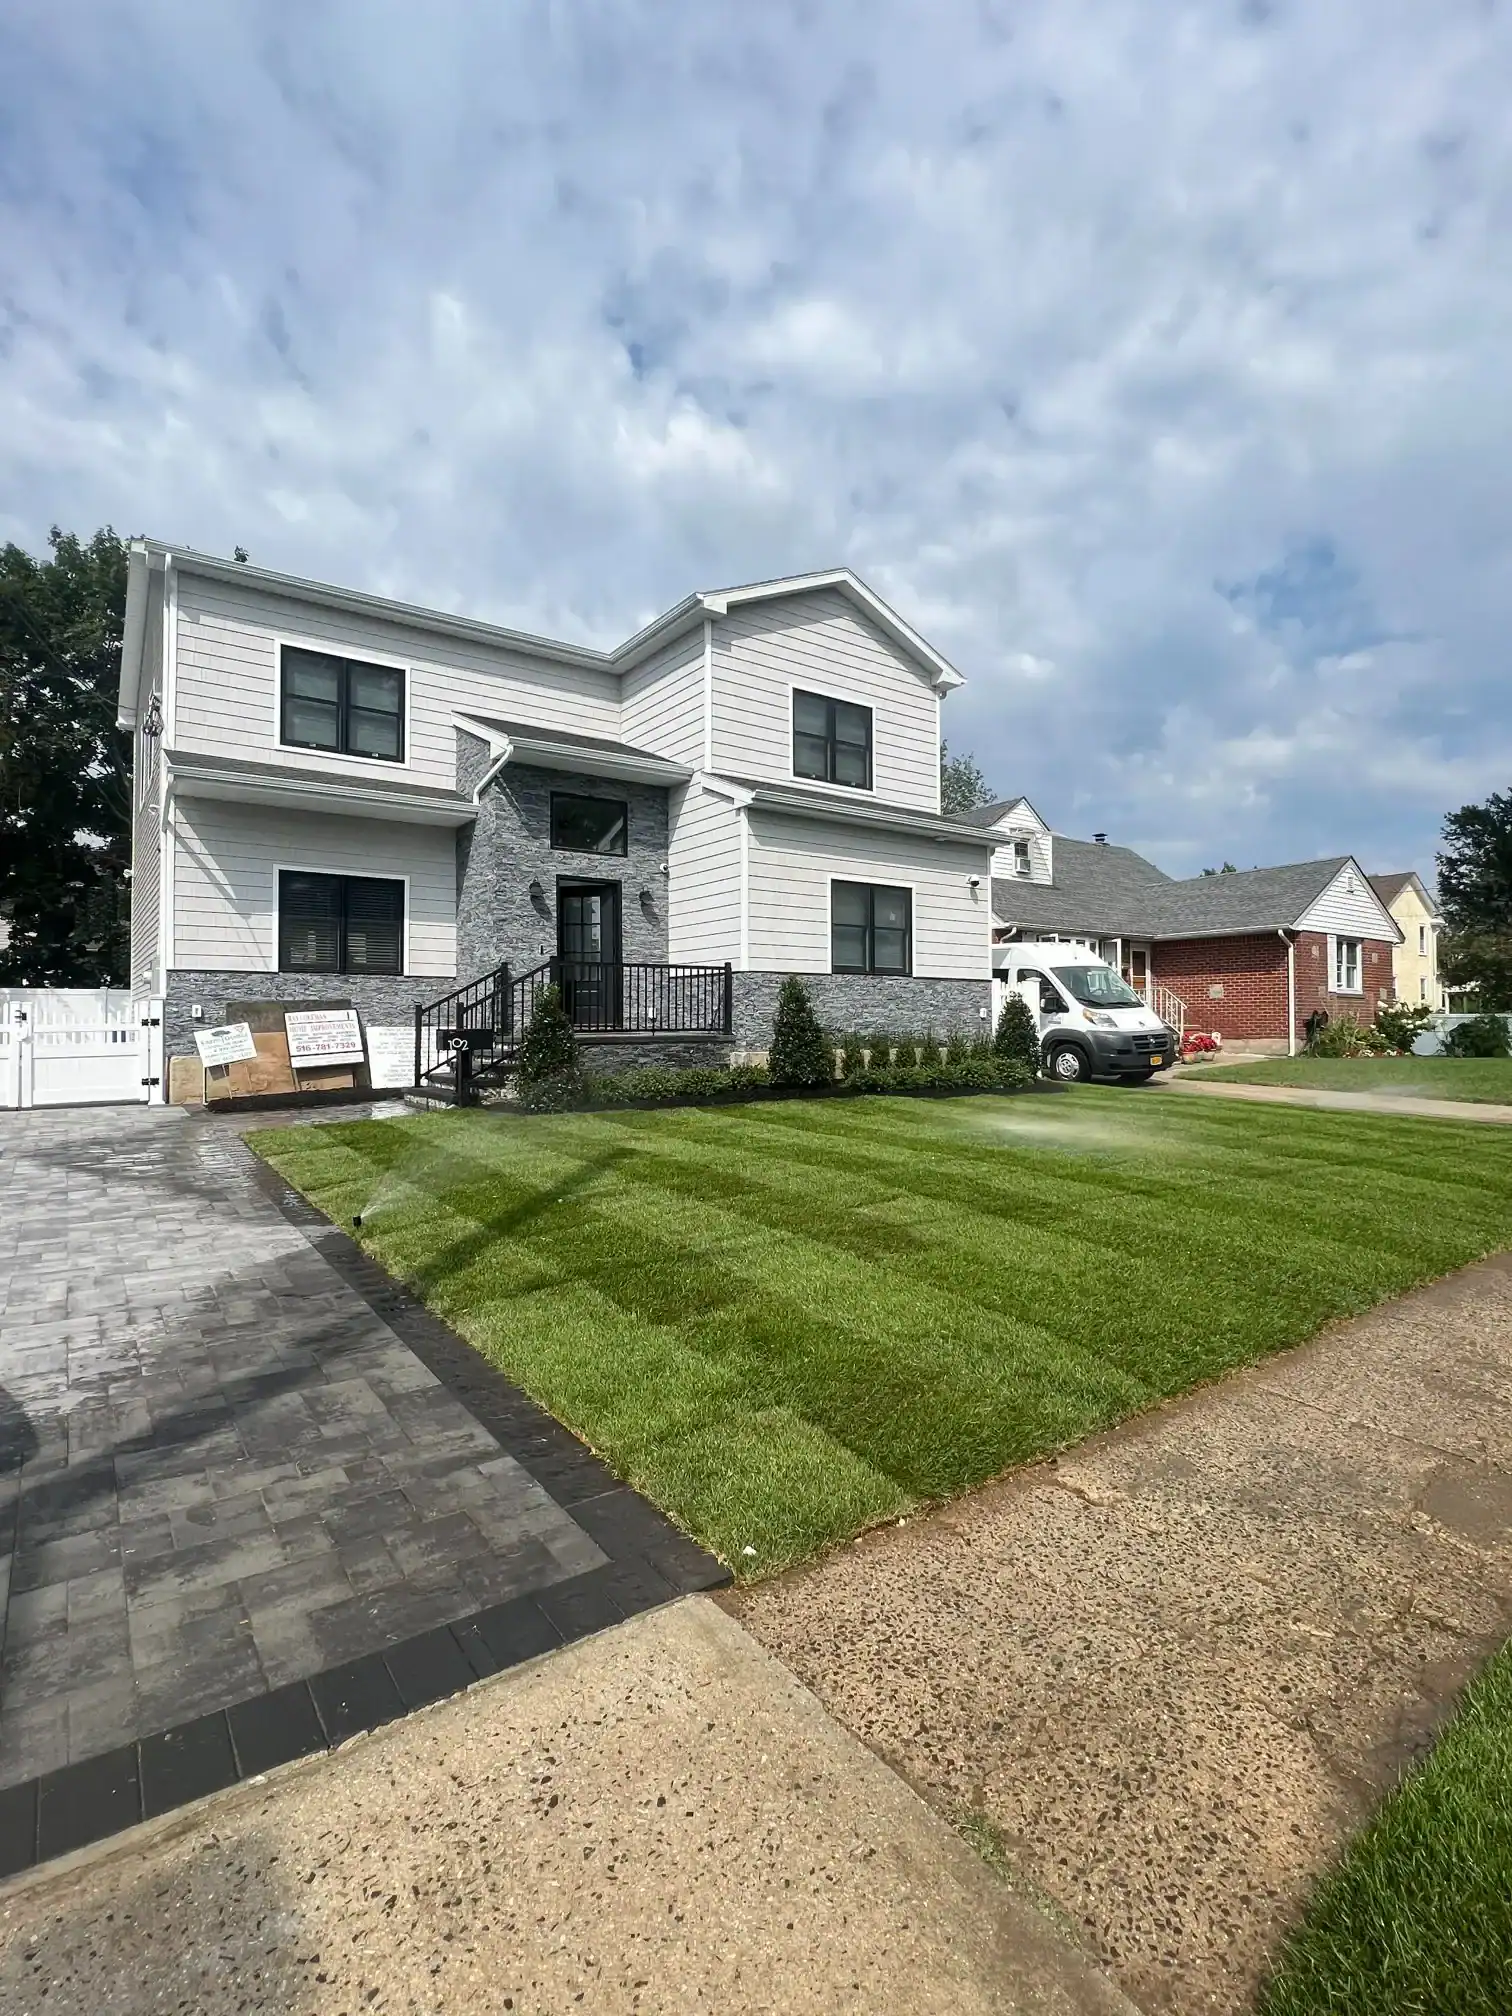
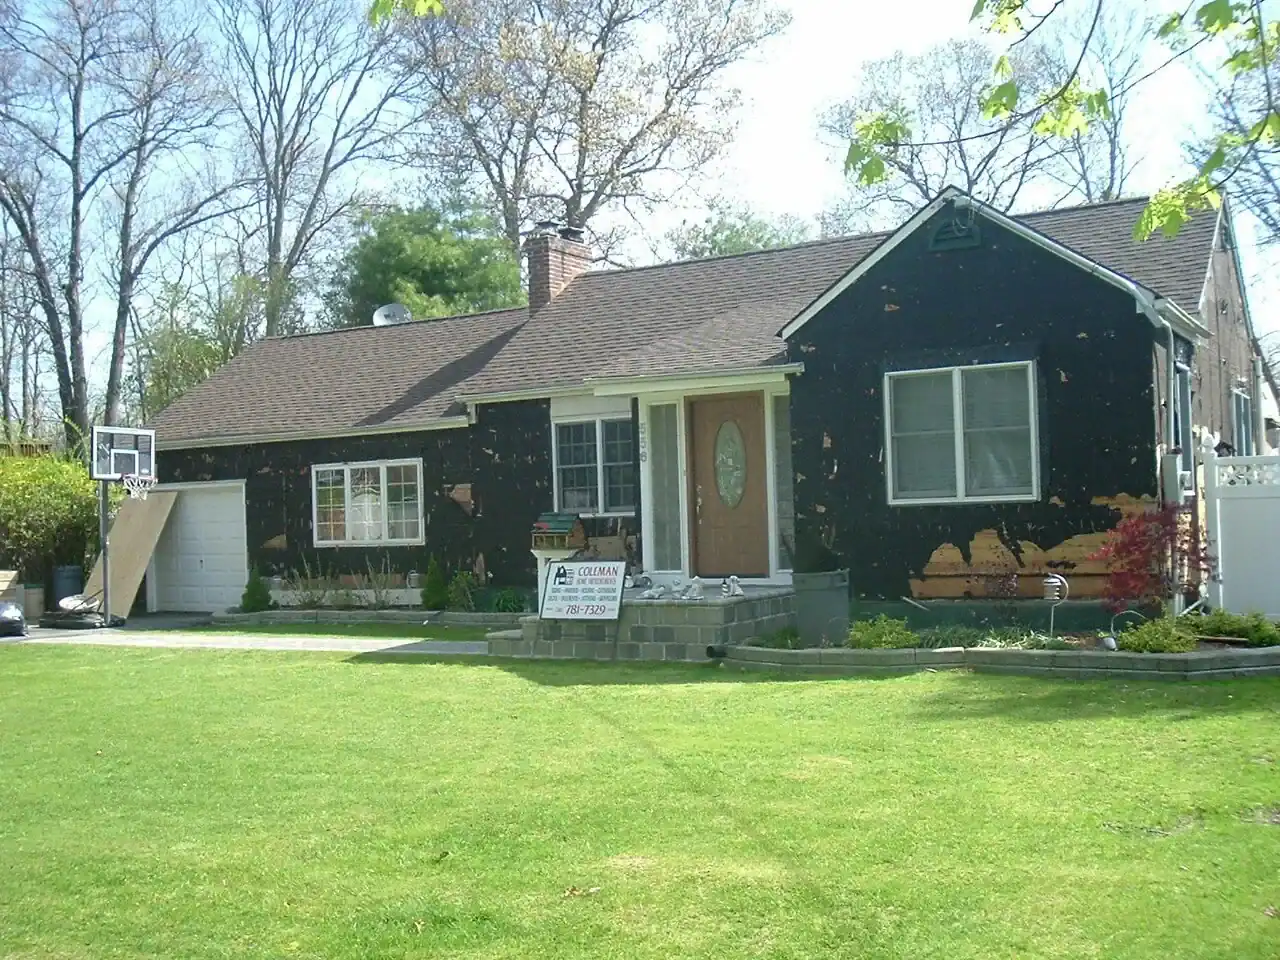
Not all dormers are the same. The style you choose affects how much space you gain, how much natural light comes in, and how the finished project looks from the street. Gable dormers are the most common—they have that classic triangular roof and work well on Cape Cods and Colonials. They're great for adding a single window and some headroom without a massive structural overhaul. Shed dormers have a single sloped roof and can span most of the roofline, which means you gain serious square footage. If you're converting an attic into a full bedroom or bathroom remodel, a shed dormer usually makes the most sense. Hip dormers have three sloping sides and blend smoothly with the rest of the roof. They look elegant and work well if you want the addition to feel seamless. Eyebrow dormers are smaller and curved—they add charm and a bit of light but don't create much usable space. Then there are flat-roof dormers, which are more modern and maximize headroom. Each style has trade-offs in cost, complexity, and the amount of space you gain. The right choice depends on your home's architecture, your budget, and what you're trying to accomplish. We walk through these options with you during the consultation so you're not guessing.
How We Build Your Dormer Without Wrecking Your Life
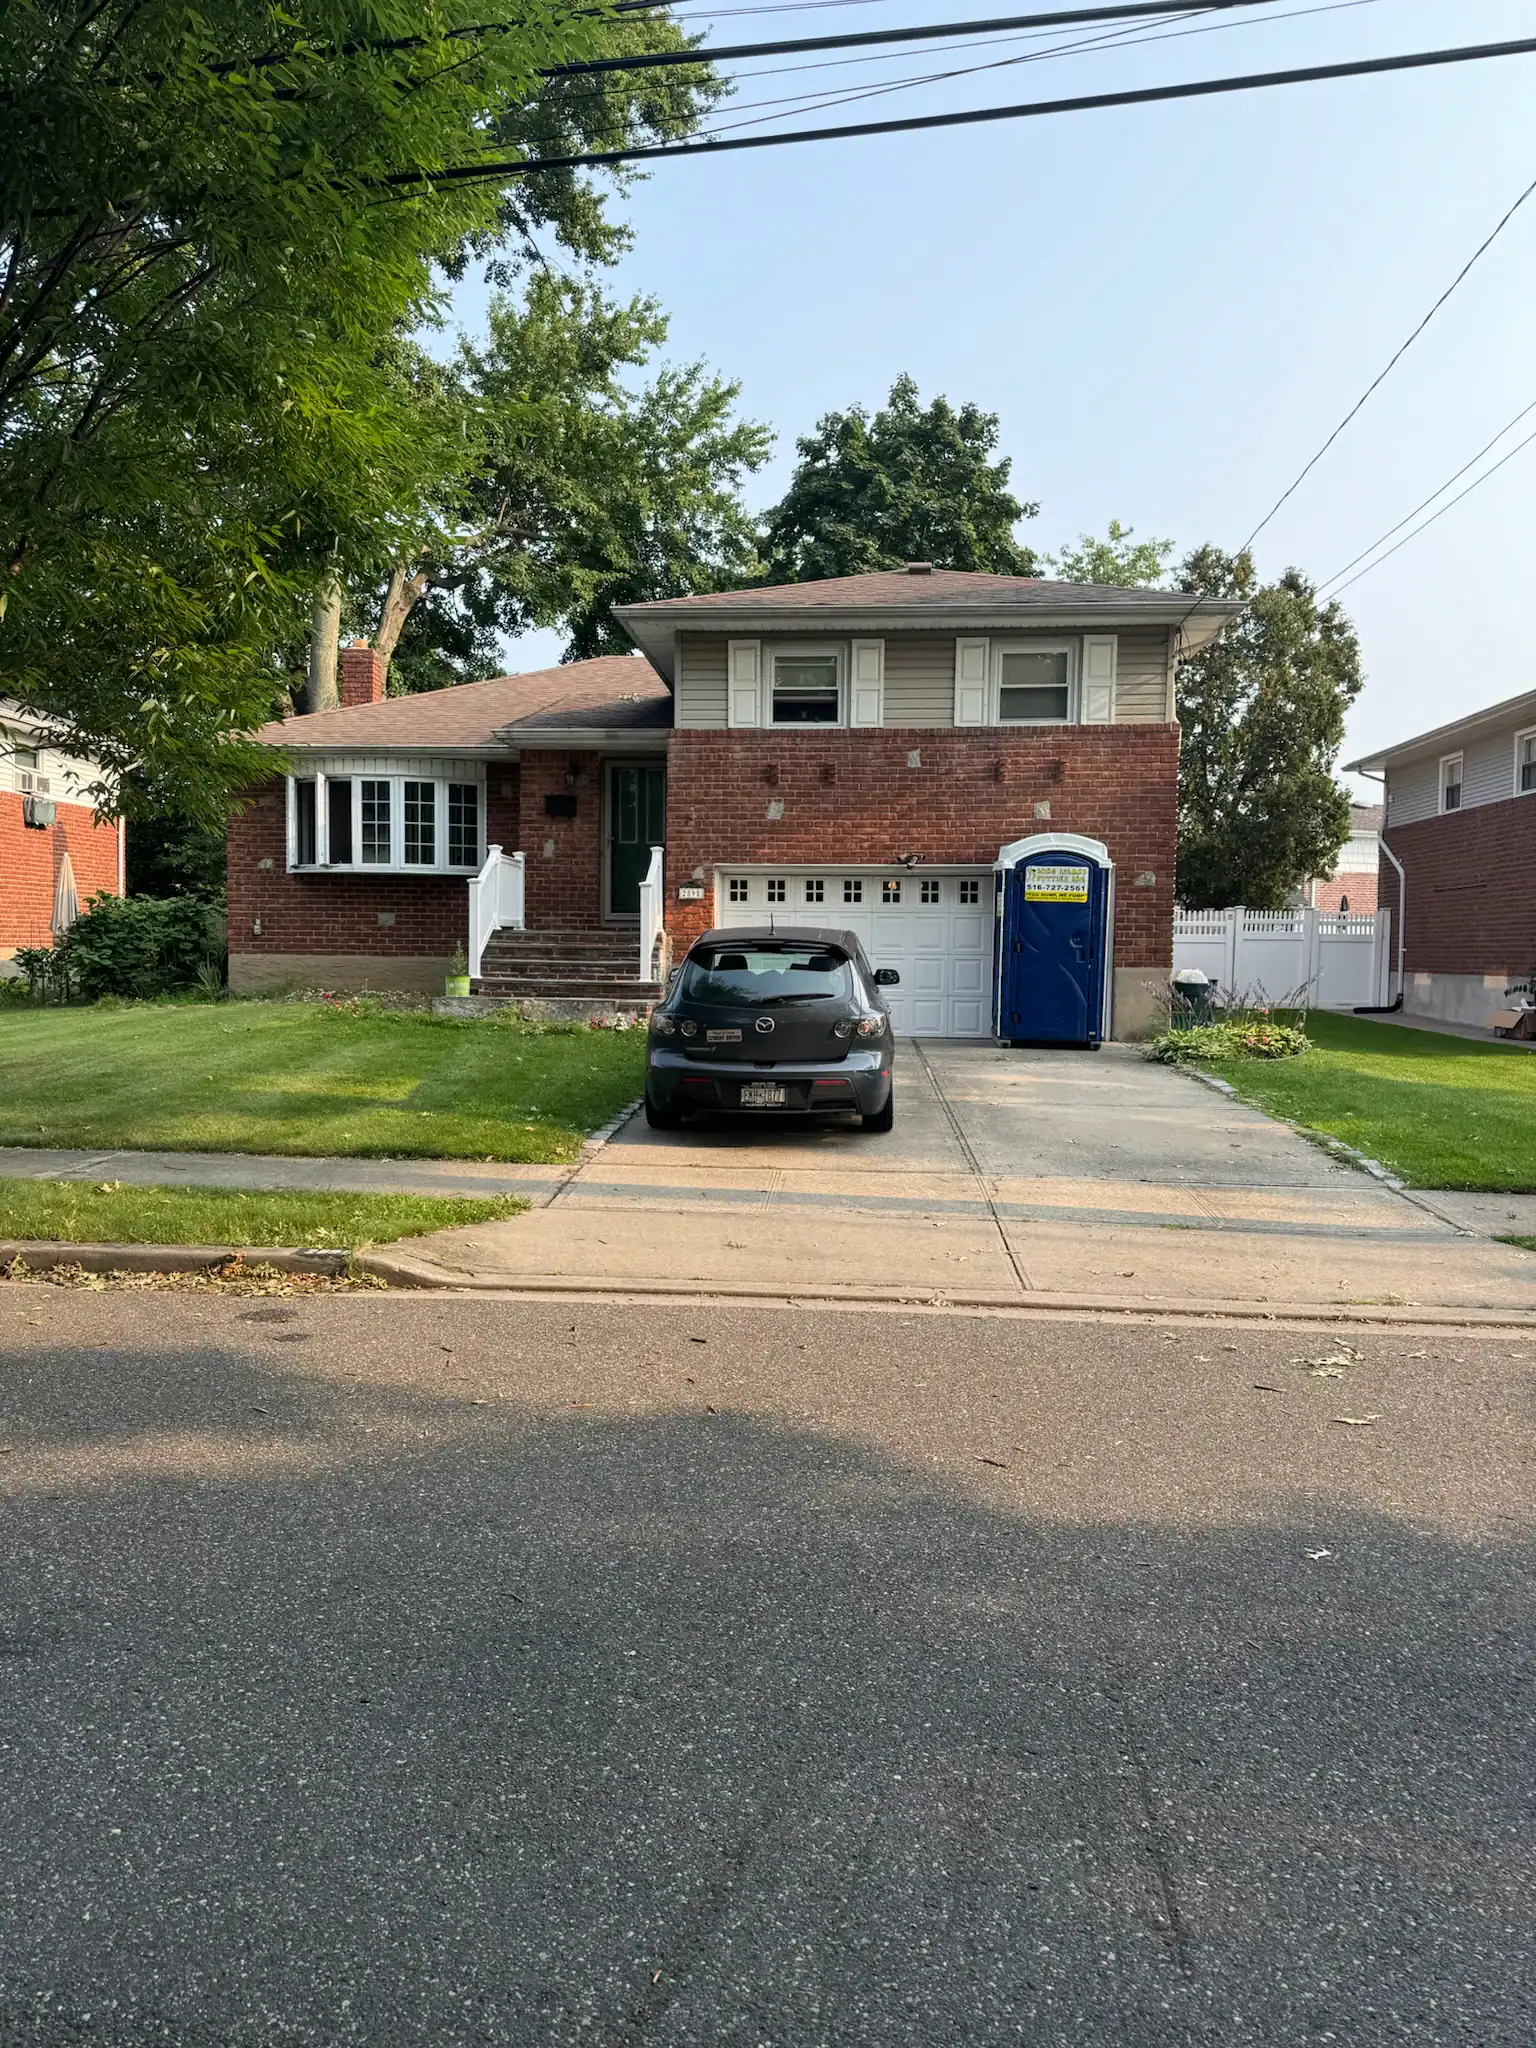
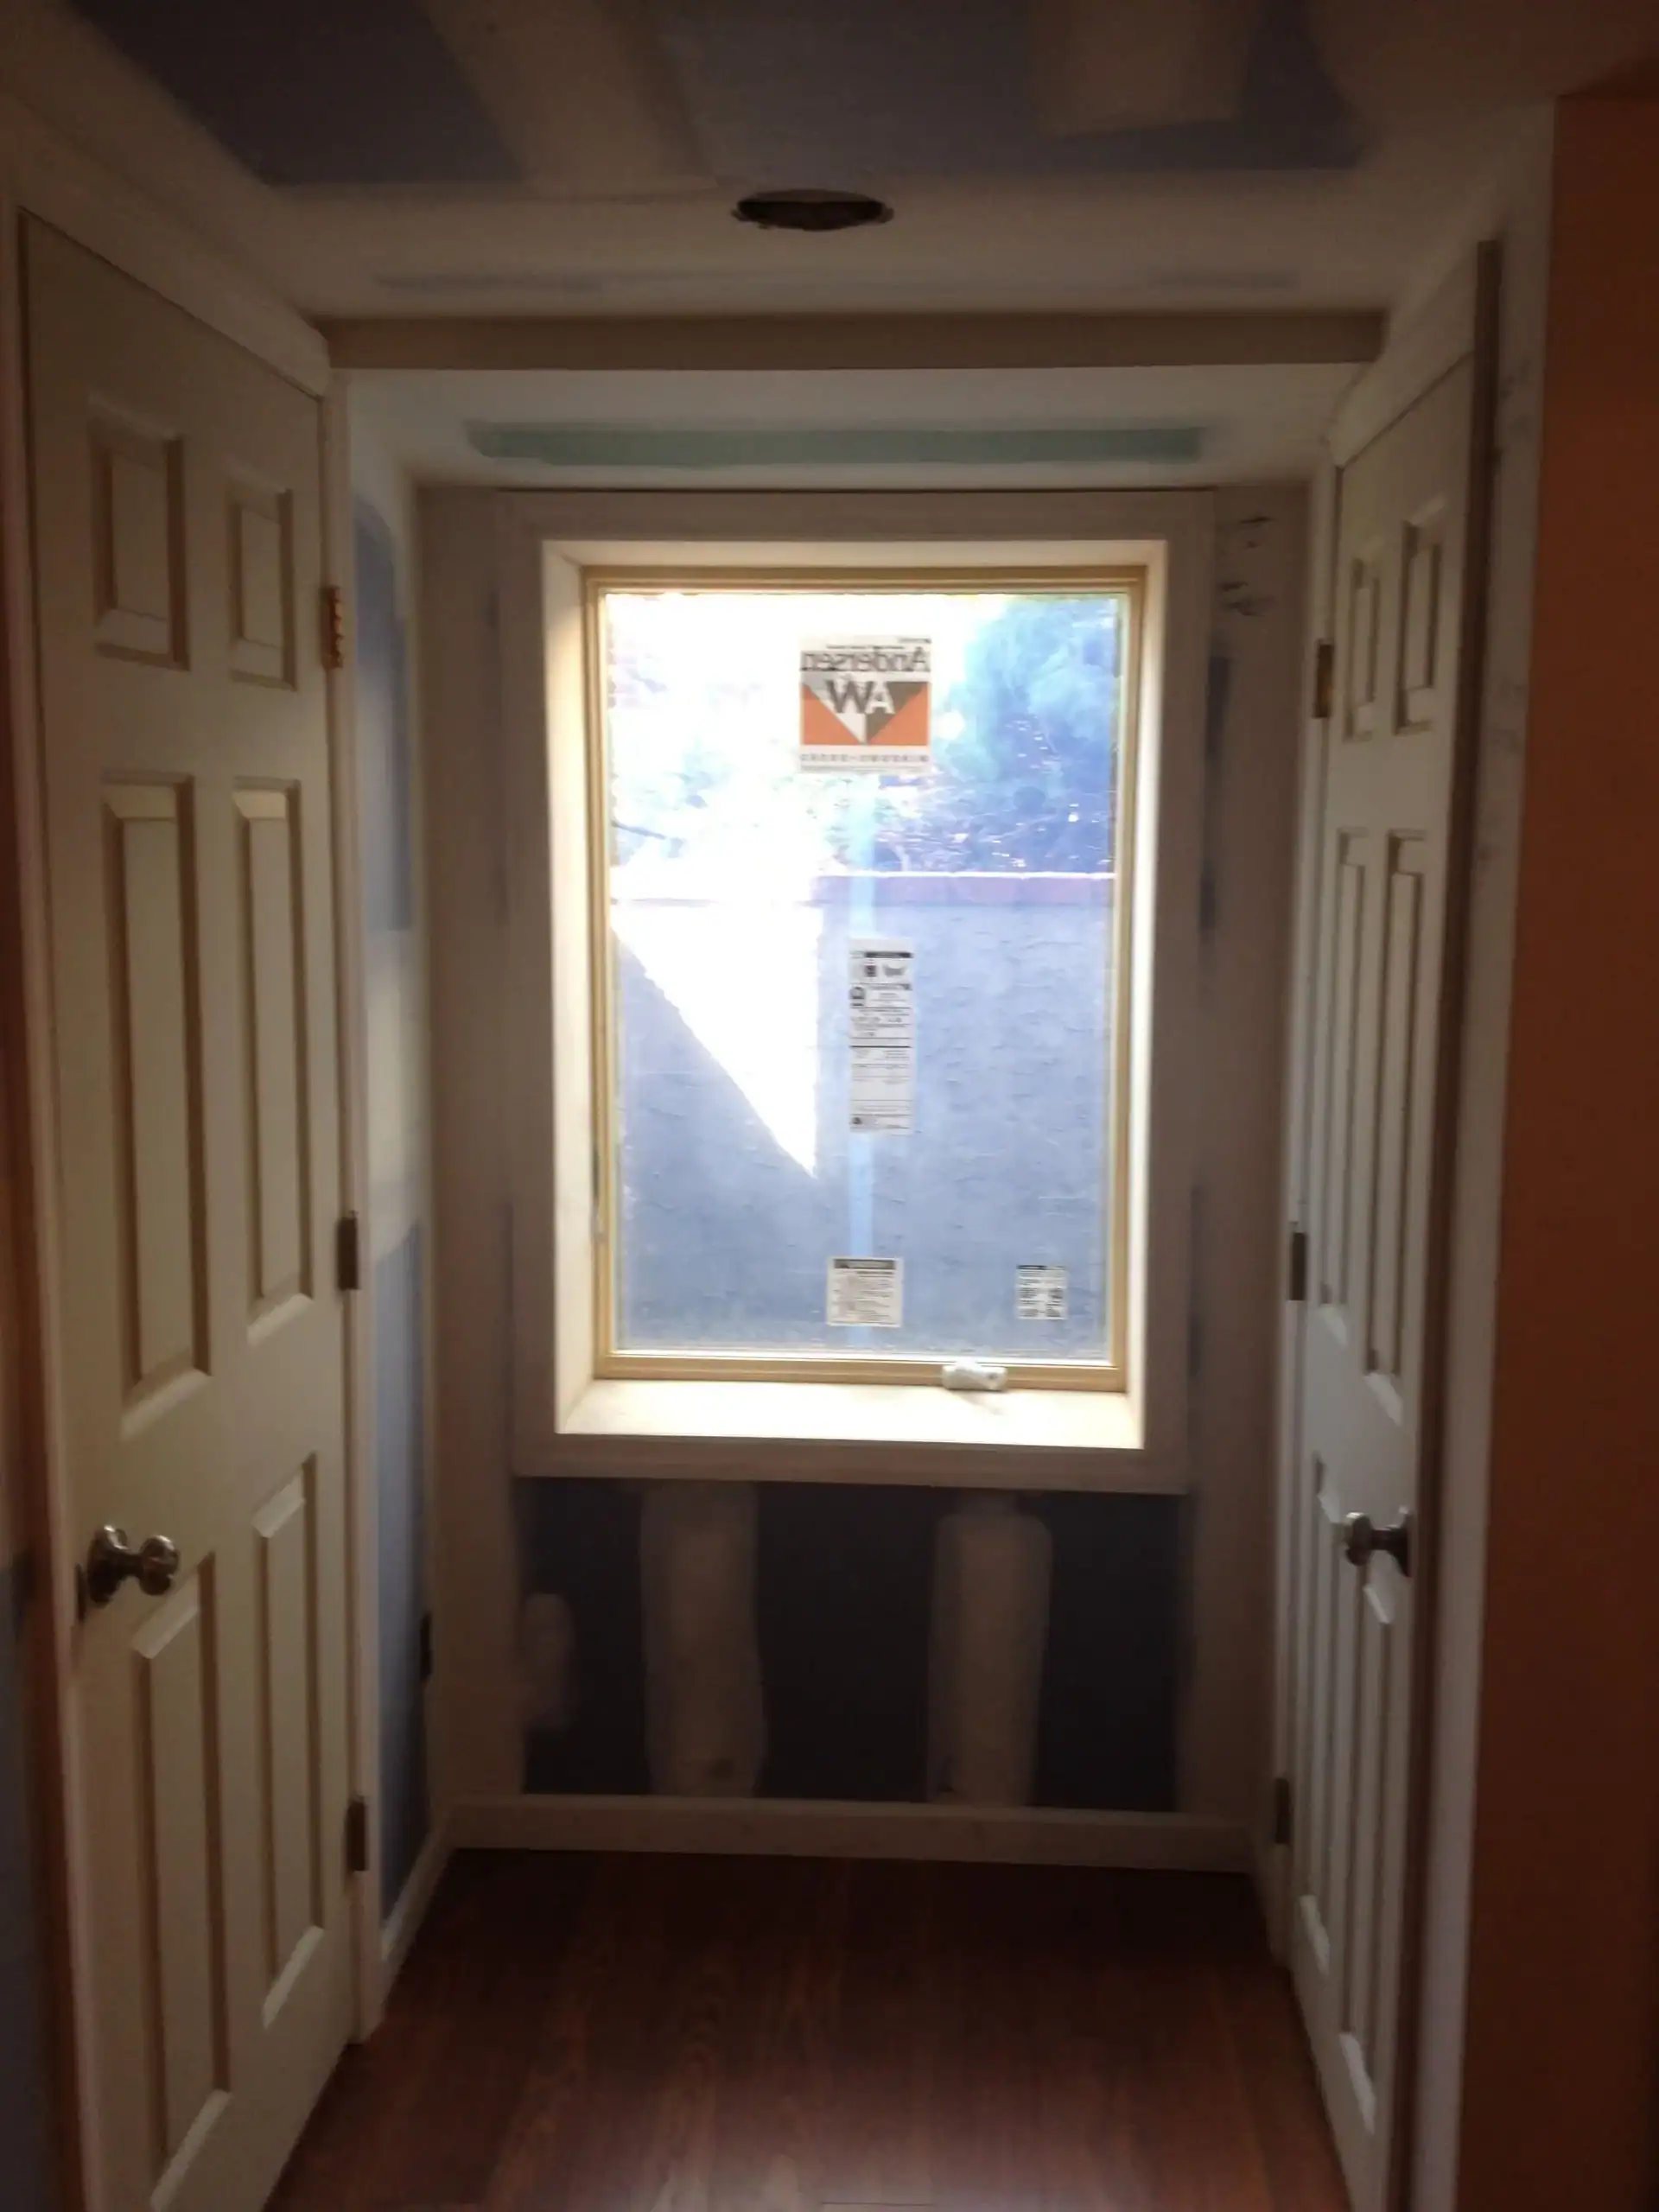
Dormer construction starts with a site evaluation. Ray comes out, looks at your roof structure, checks the attic framing, and talks through what you're trying to create. From there, the design gets finalized and permits get pulled. Nassau County requires building permits for dormers since they're structural changes, and we handle that process so you don't have to chase down approvals. Once permits are in hand, the real work begins. The crew sets up scaffolding, removes shingles from the section where the dormer will go, and carefully cuts into the roof. Temporary supports go in to keep everything stable while the dormer gets framed. The front wall, side walls, and roof structure go up, then the exterior gets closed in with sheathing, roofing, and siding that matches your house. Windows get installed, flashing goes in to prevent leaks, and the exterior gets finished. Inside, insulation, drywall, electrical, and paint bring the space to life. The goal is to get the exterior weathertight as fast as possible so your home isn't exposed to the elements. Most projects take 4 to 12 weeks depending on size, weather, and any surprises that come up when we open the roof. Throughout the process, the job site gets cleaned up daily. You're living in the house during construction, and nobody wants to trip over debris or deal with sawdust everywhere.